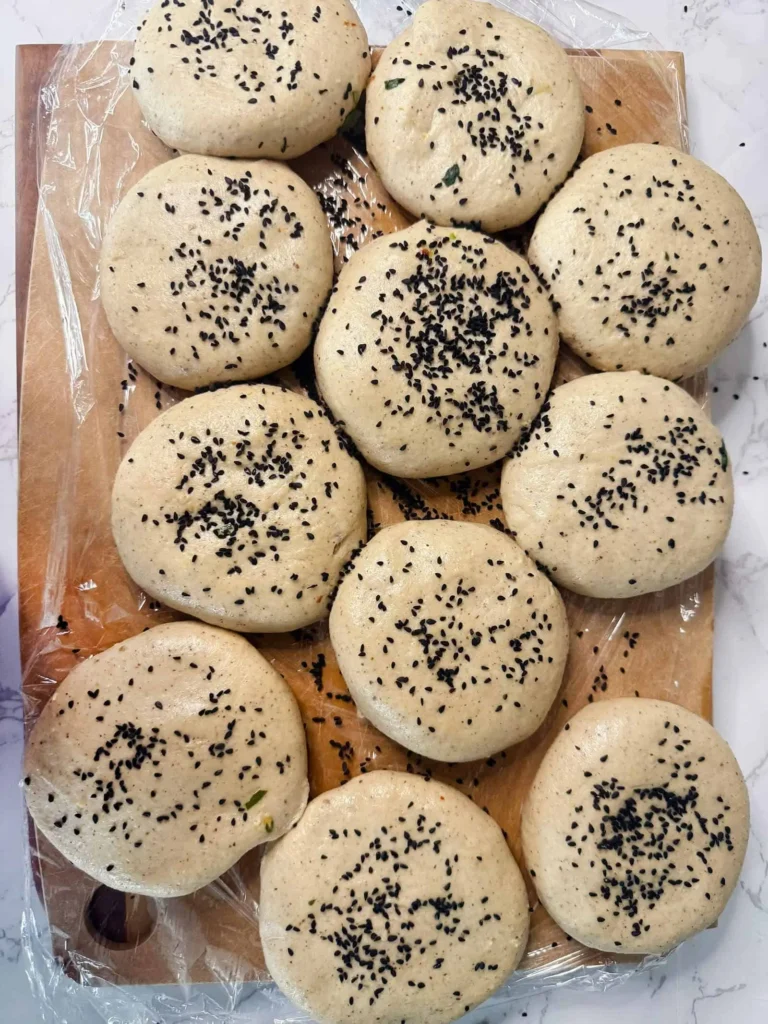

This is the meal prep most Indian kitchens do not talk about — but should. Make a full batch of stuffed parathas once, stack them with parchment paper between each one, freeze them, and then pull one out on any busy morning. Straight from freezer to tawa. Thirty seconds. Soft, warm, properly stuffed paratha like you just made it.
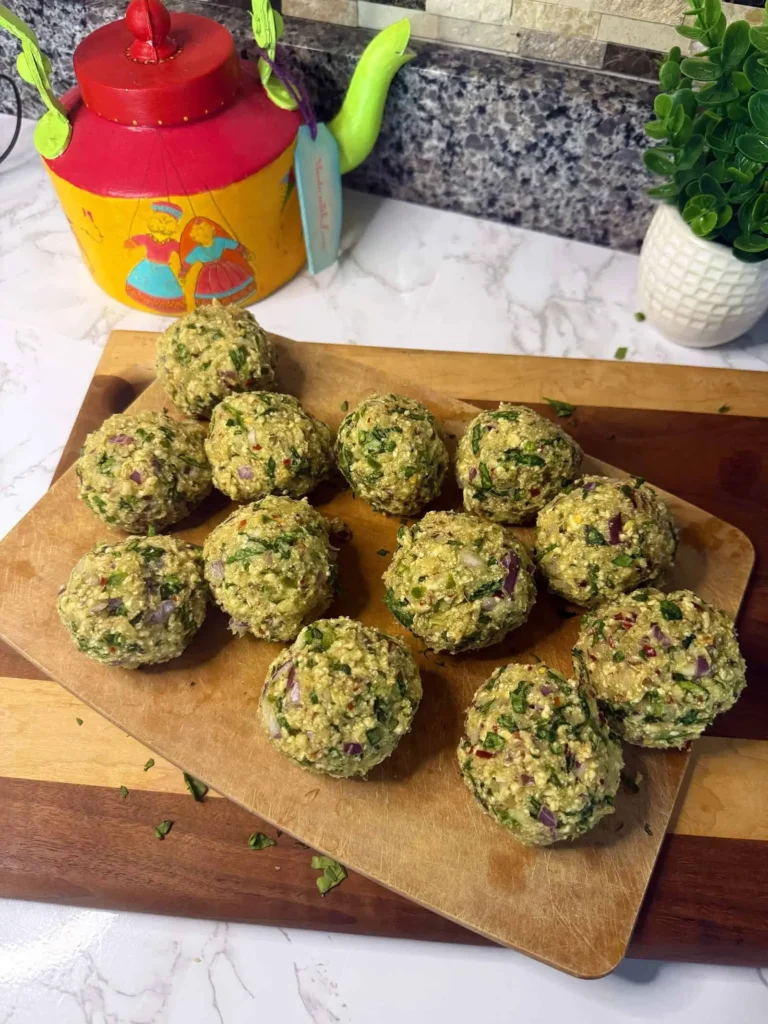
The filling is paneer, jalapeño, and spinach — homemade paneer for richness and protein, jalapeño for a gentle heat that does not overpower, spinach for iron and that earthy depth that makes the whole thing feel complete. Rolled with a roti maker for speed and consistency — no rolling pin stress, no uneven thickness. This is real food on a busy morning without the morning effort.
Why Batch Making Parathas Actually Works
The reason most people do not batch-make parathas is the assumption that they will not reheat well — that they will go rubbery, or dry out, or lose the soft layered texture that makes a good paratha worth eating. That assumption is wrong, with one condition: freeze them properly.
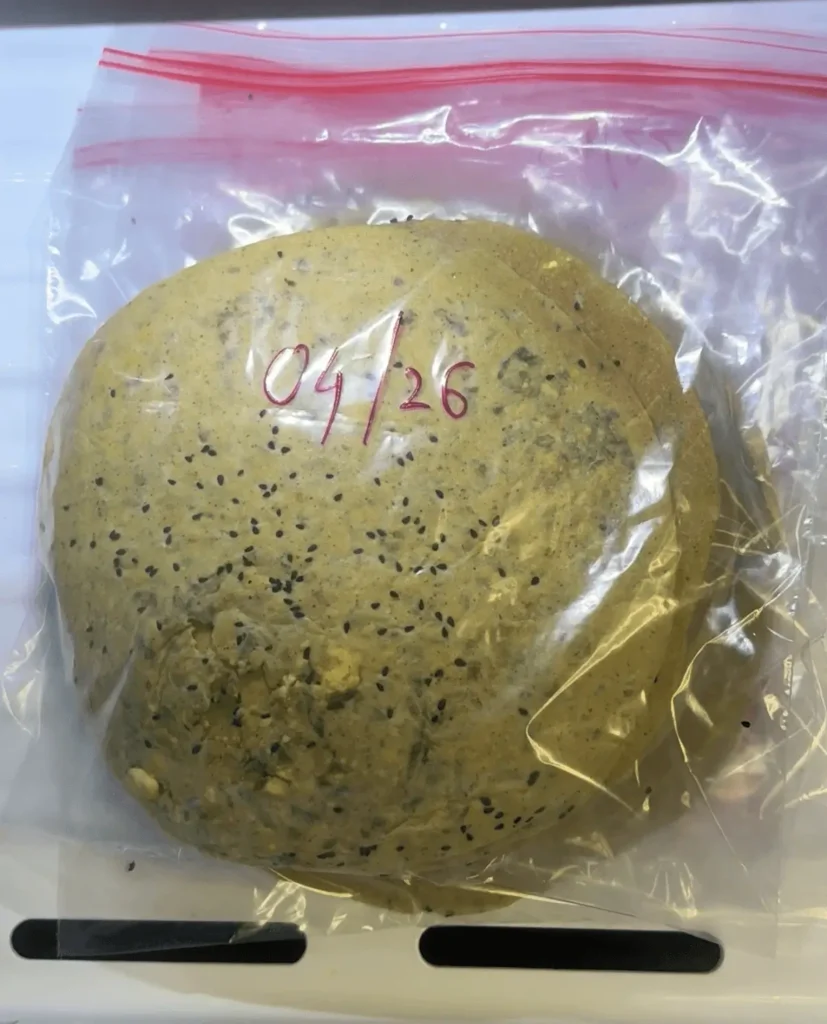
The key is parchment paper between each paratha before freezing. This prevents them sticking together and means you can pull out exactly one without disturbing the rest. A freezer-safe ziplock bag pressed flat keeps them from getting freezer burn.
When you need one, it goes straight from frozen onto a medium-hot tawa — no thawing, no waiting, no oil needed unless you want it. Thirty seconds per side and it is warm, soft, and tastes freshly made. It is one of those things that feels almost too easy once you have done it the first time.
The Filling — Three Ingredients, Each Earning Its Place
Homemade paneer is the heart of this filling. Crumbled rather than cubed, it distributes evenly through the paratha and gives every bite that soft, milky richness. If you are using store-bought paneer, grate it rather than crumbling — it integrates more smoothly. Homemade paneer is softer and crumbles naturally.
Jalapeño adds heat that is present but not aggressive. Finely chopped with the seeds removed for a medium heat level, or kept in for more. It gives the filling a brightness that dried chili powder does not — fresh, slightly grassy, and alive.
Spinach — wilted, squeezed dry, and finely chopped. The squeezing is not optional. Excess moisture from spinach is the main reason stuffed parathas split during rolling and filling spills out. Squeeze it firmly in your hands or in a clean cloth until no more water comes out. Then chop it finely so it folds evenly through the paneer.
Season the filling well — salt, a pinch of cumin powder, a little garam masala, and a squeeze of lemon juice. Taste it before it goes into the dough. A well-seasoned filling is the difference between a paratha that is good and one that is genuinely memorable.
The Dough — Whole Wheat Atta
A simple whole wheat dough: atta, a pinch of salt, a little oil, and warm water. Knead until smooth and slightly soft — softer than you think it needs to be. A softer dough is easier to roll without tearing and seals around the filling more cleanly.
Rest the dough covered for at least 20 to 30 minutes. This relaxes the gluten and makes rolling significantly easier. Do not skip the rest — it is one of those small steps that makes the whole process smoother.
On the dough consistency: The dough should feel like a soft earlobe — smooth, slightly tacky but not sticky. If it tears when you stretch it gently, it needs more water. If it sticks to your hands, add a little more flour.
Rolling Without the Filling Spilling Everywhere
The most common stuffed paratha frustration is filling breaking through the dough during rolling. A few things prevent this:
Keep the filling dry. Any moisture in the filling — from spinach, from paneer that has not been pressed — will weaken the dough from the inside as you roll. Squeeze everything properly.
Do not overfill. A generous tablespoon of filling per paratha is enough. More than that and the dough cannot seal without tearing.
The envelope method: Flatten a dough ball into a small disc. Place the filling in the centre. Bring the edges up and over the filling like a parcel and press to seal firmly. Then flatten gently with your palm before using a rolling pin. Roll from the centre outward with light, even pressure — not pressing down hard from one side.
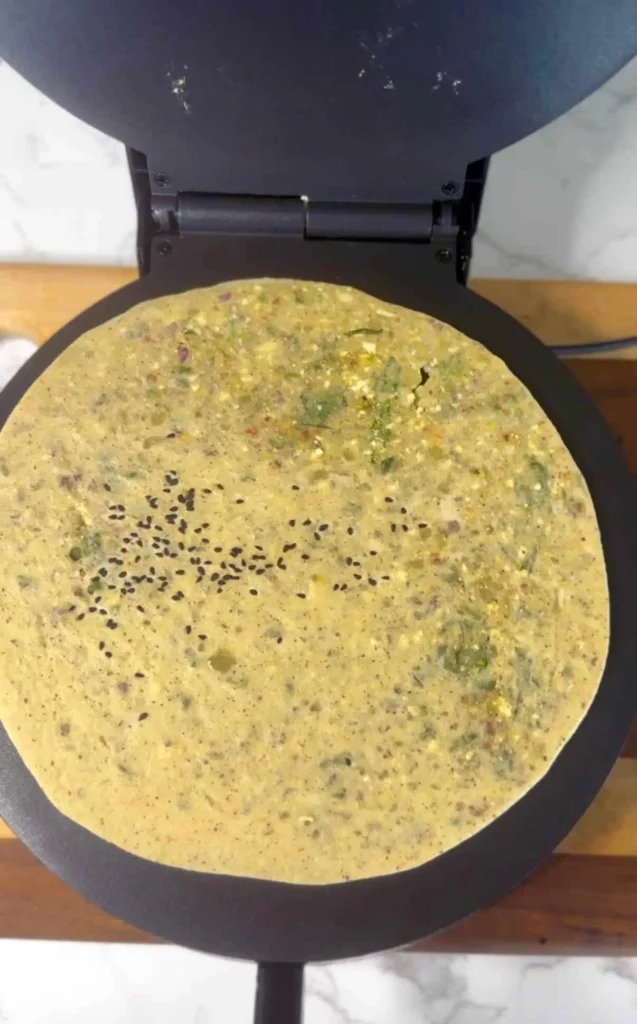
No rolling pin? A roti maker is genuinely the most convenient option here — press, done, perfectly even every time. It is especially useful when batch making since it speeds up the rolling process considerably and keeps every paratha a consistent thickness. A flat-bottomed bowl or your palm also works if you have neither.
Cooking on the Tawa
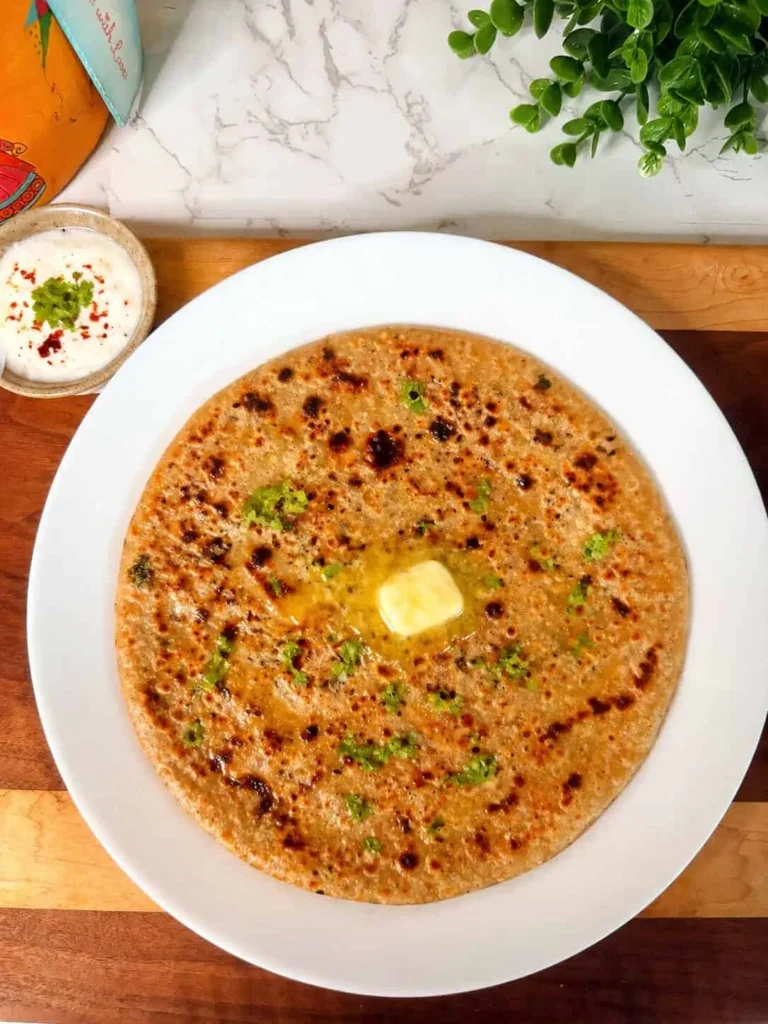
A heavy tawa or cast iron pan on medium-high heat. No oil for the first side — place the paratha on the dry tawa and let it cook for about a minute until you see bubbles forming on the surface and the underside has pale golden spots. Flip, then add a small amount of ghee or oil to the cooked side. Flip again and press gently with a folded cloth or spatula. The paratha should puff slightly and develop golden blistered spots on both sides.
Total cooking time per paratha: 3 to 4 minutes. Do not rush with high heat — the inside needs to cook through at the same rate as the outside browns.
Freezing and Reheating — The Full Method
To freeze: Let the cooked parathas cool completely to room temperature — never freeze them warm, as condensation will make them soggy. Place a small square of parchment paper between each paratha as you stack them. Slide the stack into a freezer-safe ziplock bag, press out as much air as possible, and freeze flat. They keep well for up to one month.
To reheat: Place the frozen paratha directly on a medium-hot tawa — no oil, no thawing. Cook for 30 to 45 seconds per side until warmed through and the surface is soft. A small pat of ghee on top before serving is optional but very much worth it.
How many to make per batch: A batch of 8 to 10 parathas is the practical sweet spot — enough to cover a full week of breakfasts or quick lunches without taking over your entire Sunday. Double the recipe for two weeks.
Serving
Warm paratha, a bowl of cold yogurt, and a good Indian pickle alongside. The yogurt cools and contrasts the heat from the jalapeño. The pickle cuts through the richness of the paneer. This is the classic pairing for a reason — it has been working for a very long time.
Watch Me Make This
See the full batch-making process: @binalstastytales
Paneer Jalapeño Spinach Stuffed Paratha – Batch Made and Freezer Ready
Description
High-protein whole wheat stuffed paratha with homemade paneer, jalapeño, and spinach. Batch made and frozen with parchment paper between each one — reheat straight from frozen in 30 seconds.
Ingredients
For the dough:
For the filling:
For cooking:
To serve:
Instructions
-
Make the dough
In a large bowl, mix the atta, salt, and oil. Add warm water gradually, mixing as you go, until a soft, smooth dough comes together. Knead for 5 to 7 minutes. Cover with a damp cloth and rest for 20 to 30 minutes.
-
Make the filling
Wilt the spinach in a dry pan or with a splash of water. Once cool, squeeze firmly until completely dry and chop finely. In a bowl, combine the crumbled paneer, spinach, jalapeño, cumin powder, garam masala, salt, and lemon juice. Mix well. Taste and adjust seasoning — it should be well-seasoned.
-
Divide and stuff
Divide the dough into 8 to 10 equal balls. Flatten each ball into a small disc. Place a tablespoon of filling in the centre. Bring the edges up over the filling, press to seal firmly, and flatten gently with your palm. Press out using a roti maker for the easiest, most consistent result — or roll gently from the centre with a rolling pin to about 6 to 7 inches in diameter.
-
Cook
Heat a tawa or cast iron pan on medium-high heat. Place the paratha on the dry tawa and cook for about 1 minute until bubbles form. Flip and add a small amount of ghee or oil to the cooked side. Flip again, press gently, and cook until both sides are golden and blistered. Repeat for all parathas.
-
Cool and freeze
Cool completely. Stack with parchment paper between each paratha. Place in a freezer-safe ziplock bag, press out the air, and freeze flat for up to 1 month.
-
Reheat from frozen
Place frozen paratha directly on a medium-hot tawa for 30 to 45 seconds per side. Serve warm with yogurt and pickle.
Note
Made a batch? Tag me at @binalstastytales and let me know your favourite stuffed paratha filling in the comments.